Proxmox VE
Lifecycle: Current. Last verified: 2026-07-17.
| Field | Value |
|---|---|
| Purpose | Host the firewall VM and on-premises service LXCs |
| Owner | IT Operations |
| Criticality / recovery priority | Critical / P1 |
| Hostname | pve |
| Hardware | Dell OptiPlex 7040 |
| Version | PVE 9.2.4, kernel 7.0.14-4-pve |
| Management | 192.168.2.10/24; HTTPS 8006; SSH pvessh |
| Storage | local, local-lvm |
Architecture and dependencies
This is a single host, not a cluster. OPNsense and every on-premises service depend on it. Management on the routed DMZ creates a recovery dependency on OPNsense; use local console/break-glass access when routing is unavailable.
The host uses kh3-pve-dnsmasq.service on 127.0.0.1 for bootstrap split DNS.
Configuration is /etc/dnsmasq.d/kh3-pve-split-dns.conf; the reviewed script is
scripts/proxmox/pve-split-dns.sh. Technitium is not the host's only resolver.
Web interface orientation
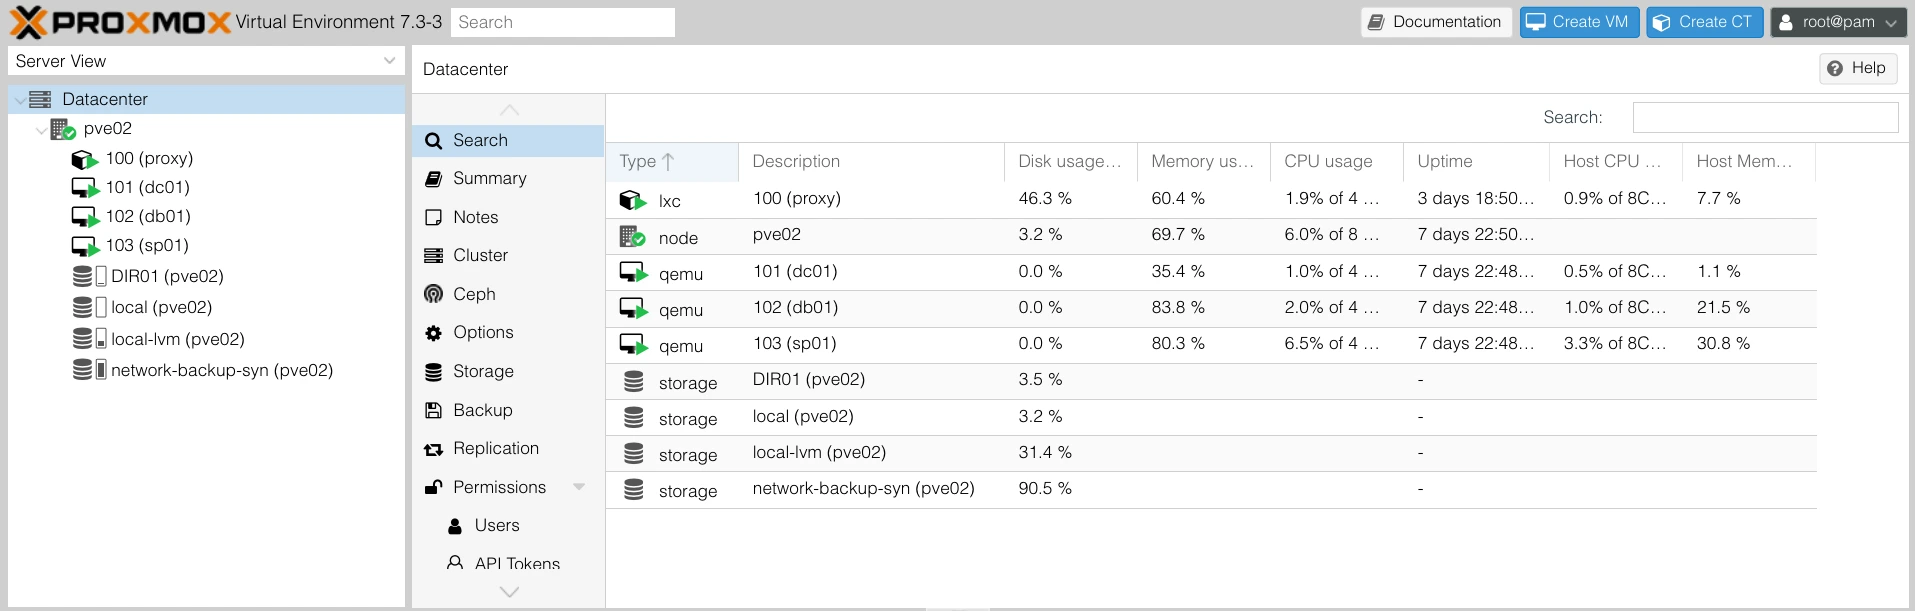
Historical Proxmox GUI capture showing the resource tree, summary area, and
task log. The visible pve02, guest, address, and storage values are obsolete;
use the current inventory, not this image, for operational
facts.
The current management interface remains https://192.168.2.10:8006/. Use the
resource tree to select the node, VM, LXC, or storage object; use Summary for
state and resource pressure; and inspect Tasks before retrying a failed
operation. Never expose an authenticated GUI screenshot without removing
account names, task details, addresses, and other environment identifiers.
Operate
ssh pvessh 'pveversion; qm list; pct list; pvesm status'
ssh pvessh 'systemctl --failed --no-pager'
ssh pvessh 'ip -4 address show; ip route'
Expected: no unexplained failed units, VM 100 and CTs 101–106 running,
and local/local-lvm active.
Maintenance and upgrade
- Obtain an outage window; firewall and all guests depend on this node.
- Verify local console access, backups, storage capacity, and guest shutdown order.
- Review repository and package source state.
- Apply updates without enabling automatic reboot.
- Reboot only when approved.
- Validate storage, VM
100, DNS, ingress, CT101, remote routes, and public services in dependency order.
Do not run scripts/proxmox-host-maintenance.sh without review; its comments
and defaults reference the historical pfSense era and it mutates repositories
and packages.
Reinstall from installation media
This is a destructive recovery procedure, not routine maintenance. It requires a verified external backup, a local console, the current Proxmox VE ISO and checksum, and an outage window. OPNsense runs on this host, so remote access can disappear as soon as the host stops.
The screenshots below were captured from the older Proxmox VE 7.2 installer. They show the workflow and field locations only. Button labels and defaults can change; follow the current Proxmox VE 9 administration guide during an actual rebuild.
1. Boot the verified Proxmox VE ISO and choose Install Proxmox VE.
2. Read and accept the license, then select the intended system disk. Selecting the wrong disk destroys its contents.
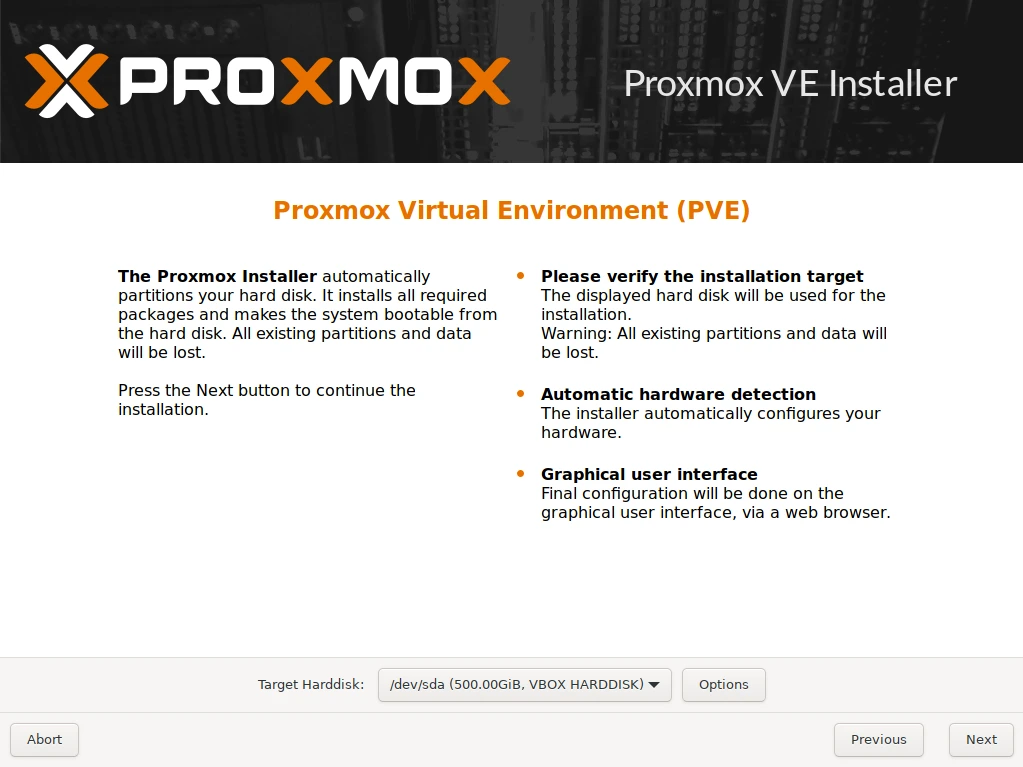
Installer target selection from an older release. Confirm the physical disk model and capacity against the recovery record before continuing.
3. Select the correct country, time zone, and keyboard layout.

Location and time settings affect logs, certificates, and scheduled work.
4. Set a unique recovery password and an actively monitored administrative email address. Do not reuse any example visible in a screenshot.
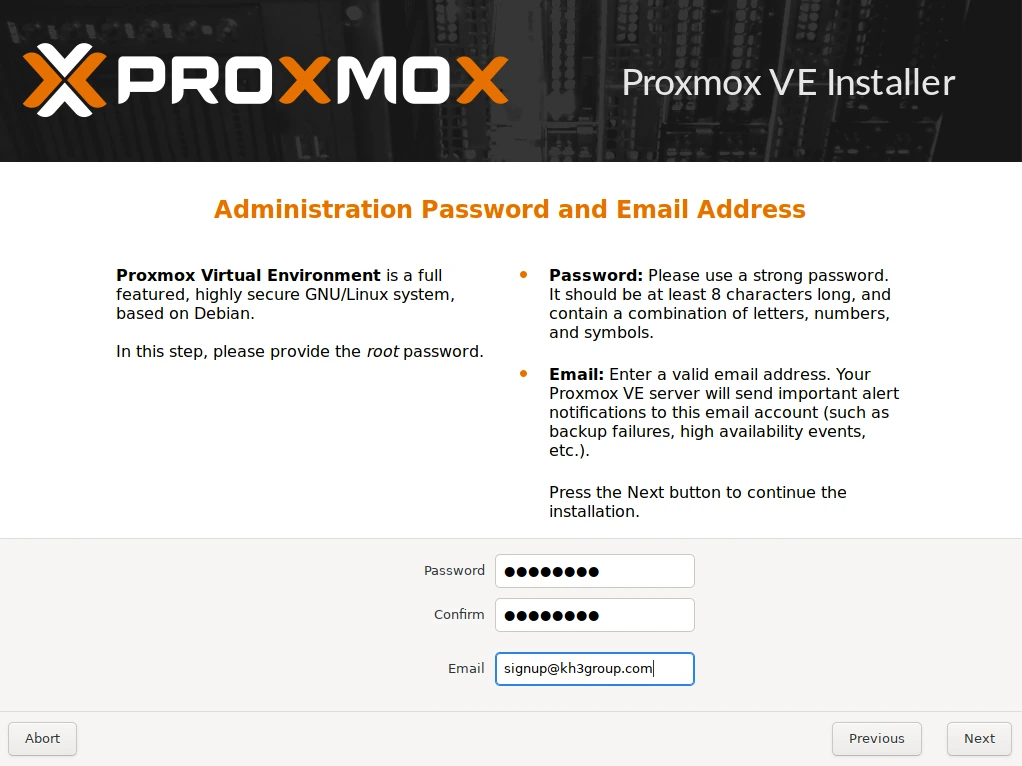
Credential fields from an older installer. Store the real recovery credential in the approved password manager, never in this repository.
5. Select the management NIC and enter the canonical host values: hostname
pve, address 192.168.2.10/24, gateway 192.168.2.1, and the resolver
selected in the approved recovery plan. Verify these values against the
network reference immediately before installation.
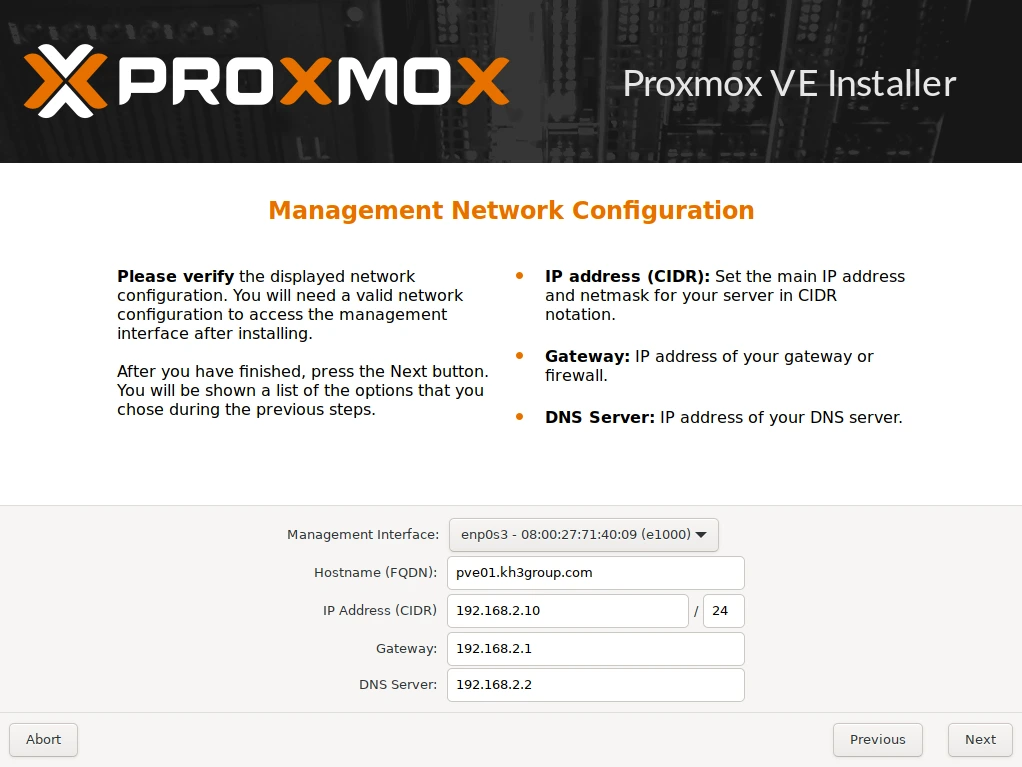
Network-field layout from an older installer. Values shown in the image are examples; the canonical KH3 values are in the text above.
6. Review the summary, especially target disk and network, before selecting Install.
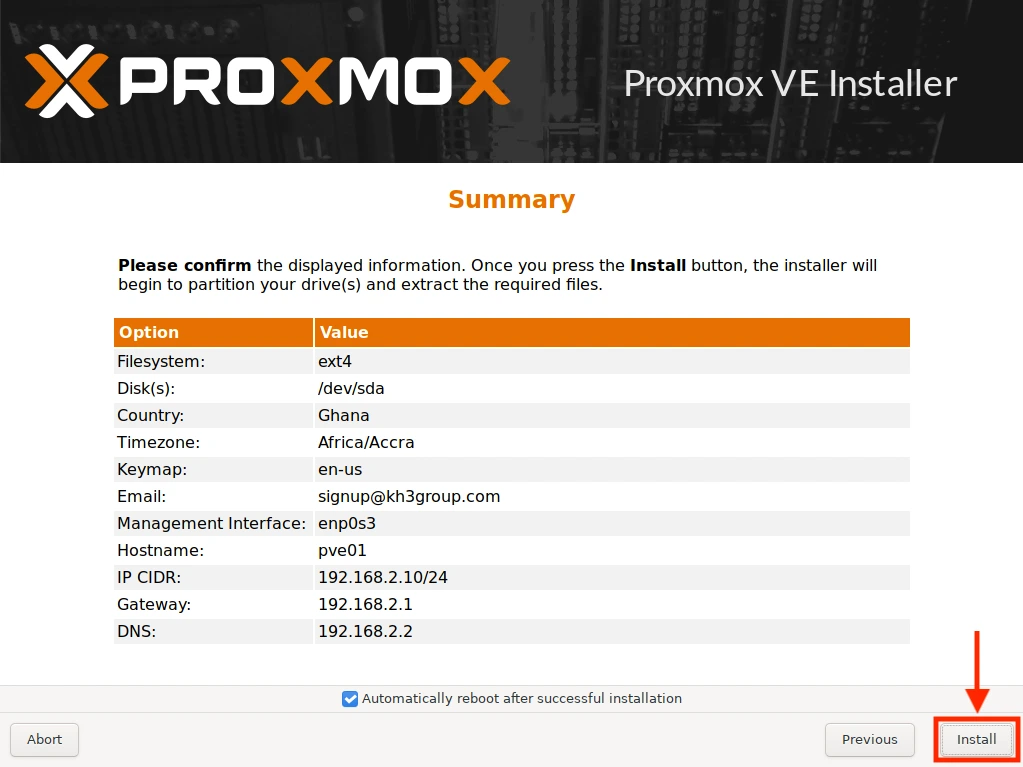
The final confirmation is the last opportunity to catch a wrong disk or address before destructive installation begins.
7. After first boot, use the local console to confirm networking, then open
https://192.168.2.10:8006/. Restore host networking, bootstrap DNS, storage,
VM 100, infrastructure LXCs, and applications in the
dependency order.
8. Validate the recovered host with pveversion, pvesm status, qm list,
pct list, DNS, ingress, and remote-route checks before declaring recovery
complete.
Backup and restore
Back up /etc/pve, host networking, resolver unit/config, storage
configuration, guest definitions, and guest backups to a verified external
target. Reinstall Proxmox with matching networking/storage, restore VM 100
first, then infrastructure LXCs, then applications. Current external backup
target and restore test are unverified; see
backup and recovery.
Troubleshooting
| Symptom | Diagnosis | Remedy |
|---|---|---|
| UI down, SSH works | systemctl status pveproxy |
Repair proxy/cert/time issue |
| Guest disk unavailable | pvesm status, LVM, task log |
Restore storage before guest |
| Names fail, IP works | localhost resolver/service and external forwarders | Use reviewed split-DNS validation/rollback |
| Broad outage | power, host, storage, VM 100 |
Recover in dependency order |
| Remote route unavailable | CT 105, not pve |
Check Headscale route and CT 105 |